

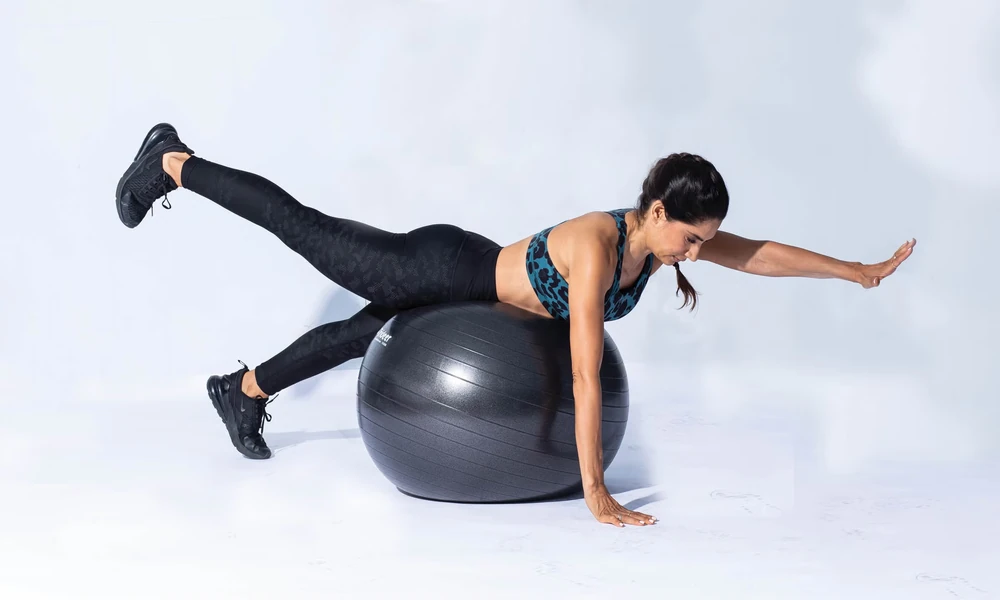
A stability ball can add a balance challenge to familiar home exercises. Since the ball moves beneath you, you’ll need to control your position as you work, bringing your core into play alongside muscles in your back, hips and legs.
Try these eight exercises to add variety to your routine. Move slowly, and choose versions you can do without losing control.
Why Use a Stability Ball for Core Training?
Your core is more than your abdominal muscles. It includes muscles around your trunk and hips that help support your spine, keep you steady and coordinate movement between your upper and lower body.
A stability ball adds an element of balance to exercises such as bridges and planks. That can make them more demanding, though it isn’t necessary to use a ball to build core strength. Good form and a manageable level of challenge matter most.
Choosing the Right Ball Size
When you sit on the ball with your feet flat on the floor, your hips should be level with or slightly higher than your knees. These height ranges can help you choose a starting size:
- Under 5’0″ (152 cm): 45 cm ball
- 5’0″ to 5’7″ (152-170 cm): 55 cm ball
- 5’8″ to 6’2″ (173-188 cm): 65 cm ball
- Over 6’2″ (188 cm): 75 cm ball
These are general guidelines. Leg length and how firmly the ball is inflated can affect the fit, so check the manufacturer’s sizing advice too. A beginner may find a slightly softer ball easier to control.
1. Seated Balance March
Sit near the center of the ball with your feet hip-width apart and flat on the floor. Sit tall and gently brace your midsection. Lift one foot a few inches, pause for two seconds, then lower it without letting your torso tip. Alternate sides for 10 to 12 reps per side.
Keep both hands on your hips or beside you for balance. If you feel unsteady, practise sitting without lifting your feet first.
2. Stability Ball Crunch
Sit on the ball and walk your feet forward until the ball supports your lower and middle back. Keep your feet flat and about hip-width apart. Cross your arms over your chest, then gently curl your upper body upward. Lower with control.
Avoid pulling on your neck or letting the ball roll beneath you. Start with 8 to 12 reps.
3. Ball Plank
Place your forearms on the ball and step your feet back until your body forms a straight line from your head to your heels. Brace your midsection and keep your hips from sagging or lifting too high. Hold for 10 to 30 seconds.
To make it easier, place your knees on the floor. If the ball feels too unstable, begin with a regular forearm plank on the floor.
4. Glute Bridge With Heels on the Ball
Lie on your back and place your heels on top of the ball, with your legs extended. Press your heels into the ball and lift your hips until your body forms a line from your shoulders to your knees. Pause briefly, then lower slowly.
Keep your ribs relaxed and avoid arching your lower back. Try 8 to 12 reps.
5. Hamstring Curl
Begin on your back with your heels on the ball and your hips lifted into a bridge. Bend your knees to roll the ball toward you, keeping your hips raised as much as you comfortably can. Slowly straighten your legs to roll the ball away.
Start with 6 to 8 reps. If you can’t keep your hips steady, practise the bridge first and add the curl later.
6. Dead Bug With Ball
Lie on your back and raise your arms and legs. Hold the ball between your hands and knees, gently pressing into it. Slowly extend one arm overhead and the opposite leg forward, keeping the ball steady with your other hand and knee. Return to the starting position and switch sides.
Move only as far as you can while keeping your lower back comfortably steady. Try 6 to 8 reps per side.
7. Wall Squat With Ball
Stand with the ball between your lower back and a wall. Place your feet slightly forward, about hip-width apart. Bend your knees and lower into a comfortable squat as the ball rolls up your back. Press through your feet to stand.
Keep your knees tracking in the same direction as your toes. Start with 8 to 12 controlled reps.
8. Knee Tuck or Pike
Start in a high-plank position with your hands on the floor and your shins resting on the ball. Keep your shoulders over your wrists and your body steady. Bend your knees and draw them toward your chest, rolling the ball forward. Extend your legs to return to the starting position.
Try 5 to 8 reps. The pike is a harder variation: with your legs straight, lift your hips toward the ceiling so your body forms an inverted V. Build up to it only when you can control the knee tuck.
Sample Beginner Routine
Choose four or five exercises and do 8 to 12 controlled reps of each. For timed holds, aim for 10 to 20 seconds to start. Rest as needed between exercises, and repeat the circuit once or twice.
Two or three sessions a week can be a practical starting point. Leave time to recover, and increase reps or hold times gradually as the movements become more comfortable.
If you’re choosing a ball, compare balance and stability balls. A ball that fits your height and feels stable under you is easier to use with confidence.
Safety Tips
- Exercise on a clear, non-slip surface, away from sharp objects.
- Check that the ball is properly inflated and in good condition before use.
- Start with the easiest variation and progress gradually.
- Keep movements slow and controlled, especially when the ball is under your feet or legs.
- Stop if you feel pain. If you have a back problem, a recent injury or concerns about exercising, ask a doctor or physiotherapist for guidance.
A stability ball can make familiar exercises feel different and add a balance challenge to a home workout. Start with a few movements you can control, then build your routine as your strength and confidence improve.
